Task 3 - Sony Raspberry Pi AI Camera
The University is busy with many moving parts. Your goal is to create an innovative solution using a Raspberry Pi AI Camera (provided) to assist with tasks like tracking sports teams’ positions and energy levels, or ensuring people in the Makerspace wear the correct safety gear.
That said — your project doesn’t have to be university-related. You’re free to explore any application area you find interesting, whether it’s environmental monitoring, accessibility tools, retail automation, or something completely out of the box. Just remember: your project will be judged by industry professionals, so make it smart, purposeful, and impactful.
Ideas & Inspiration
- Use on-board AI processing to detect certain patterns or identify whether someone is wearing protective equipment.
- Build a real-time monitoring system to track and log data (e.g., athlete stats, lab safety compliance, etc.).
- Combine sensor inputs for advanced event detection (e.g., accidents, missing gear).
Challenge Focus
- Real-World Impact: Show how AI can solve actual campus or global problems.
- Robust Recognition: Demonstrate strong image recognition or object detection.
- IoT & Robotics Integration: Potential synergy with other robotic or IoT systems.
Sony is offering a dedicated talk to explain the system in detail. In this lecture at 12:00 on the First Day, delivered by Sony Raspberry Pi AI representative Stijn Woestenborghs, you’ll get live examples, use cases, and insights into how to leverage the camera for innovative applications.
Every single person doing this challenge should go this lecture, it’ll give you all sorts of ideas and you are free to ask questions.
Note that while we’re providing these resources and examples, there is little initial guidance—details on judging and awards will be given later on in the day.
Initial Setup & Network Configuration
Before you start developing your application, it’s essential to perform the initial setup of your Raspberry Pi. Follow these steps:
1. First-Time Setup (Monitor, Keyboard, and Mouse)
- Connect to Peripherals:
Plug in a monitor, keyboard, and mouse to your Raspberry Pi. - Boot & Log In:
Power on the Pi and log in using the default credentials. - Connect to the Internet:
Use the monitor’s graphical interface to connect to a WiFi hotspot that provides internet access (your phones maybe). This connection is critical to update, upgrade, install, and download necessary packages. - Go through the setup of your raspberry pi and go through some examples
- Alternative Connection:
If you prefer, you can connect the Pi to your personal WiFi hotspot (via your smartphone or portable router) to download packages.
2. Transitioning to Wireless Operation
Once your Pi is fully configured and updated, you can enable SSH to operate headlessly:
- Enable SSH:
- Come down to the Sony section and use the Dedicated Access Point
3. Example Setup Guides
Connectivity & Programming Options
There are three main ways you can connect to and program your Raspberry Pi:
1. Dedicated Wireless Access Point
- Method: Connect your laptop to a dedicated wireless access point using VNC and SSH.
- Note: This option guarantees local network communication for local web servers. However, if the access point isn’t connected to the University’s wired network, you won’t have internet access.
-
Alternative: If you don’t want to use wires, you can connect to one of the wireless access points located underneath the Spanish Steps on the Ground Floor.
Access points under the Spanish Steps
2. Ethernet Cables and Adaptors
- Method: Use ethernet cables and adaptors for a direct point-to-point connection. You can interface with your Raspberry Pi using VNC and SSH.
-
Note: We have a limited number of ethernet adaptors. There is a borrowing system in place—if you don’t have one, you may need to ask other teams to share. Do not remove these items from the event; they are Robosoc property.
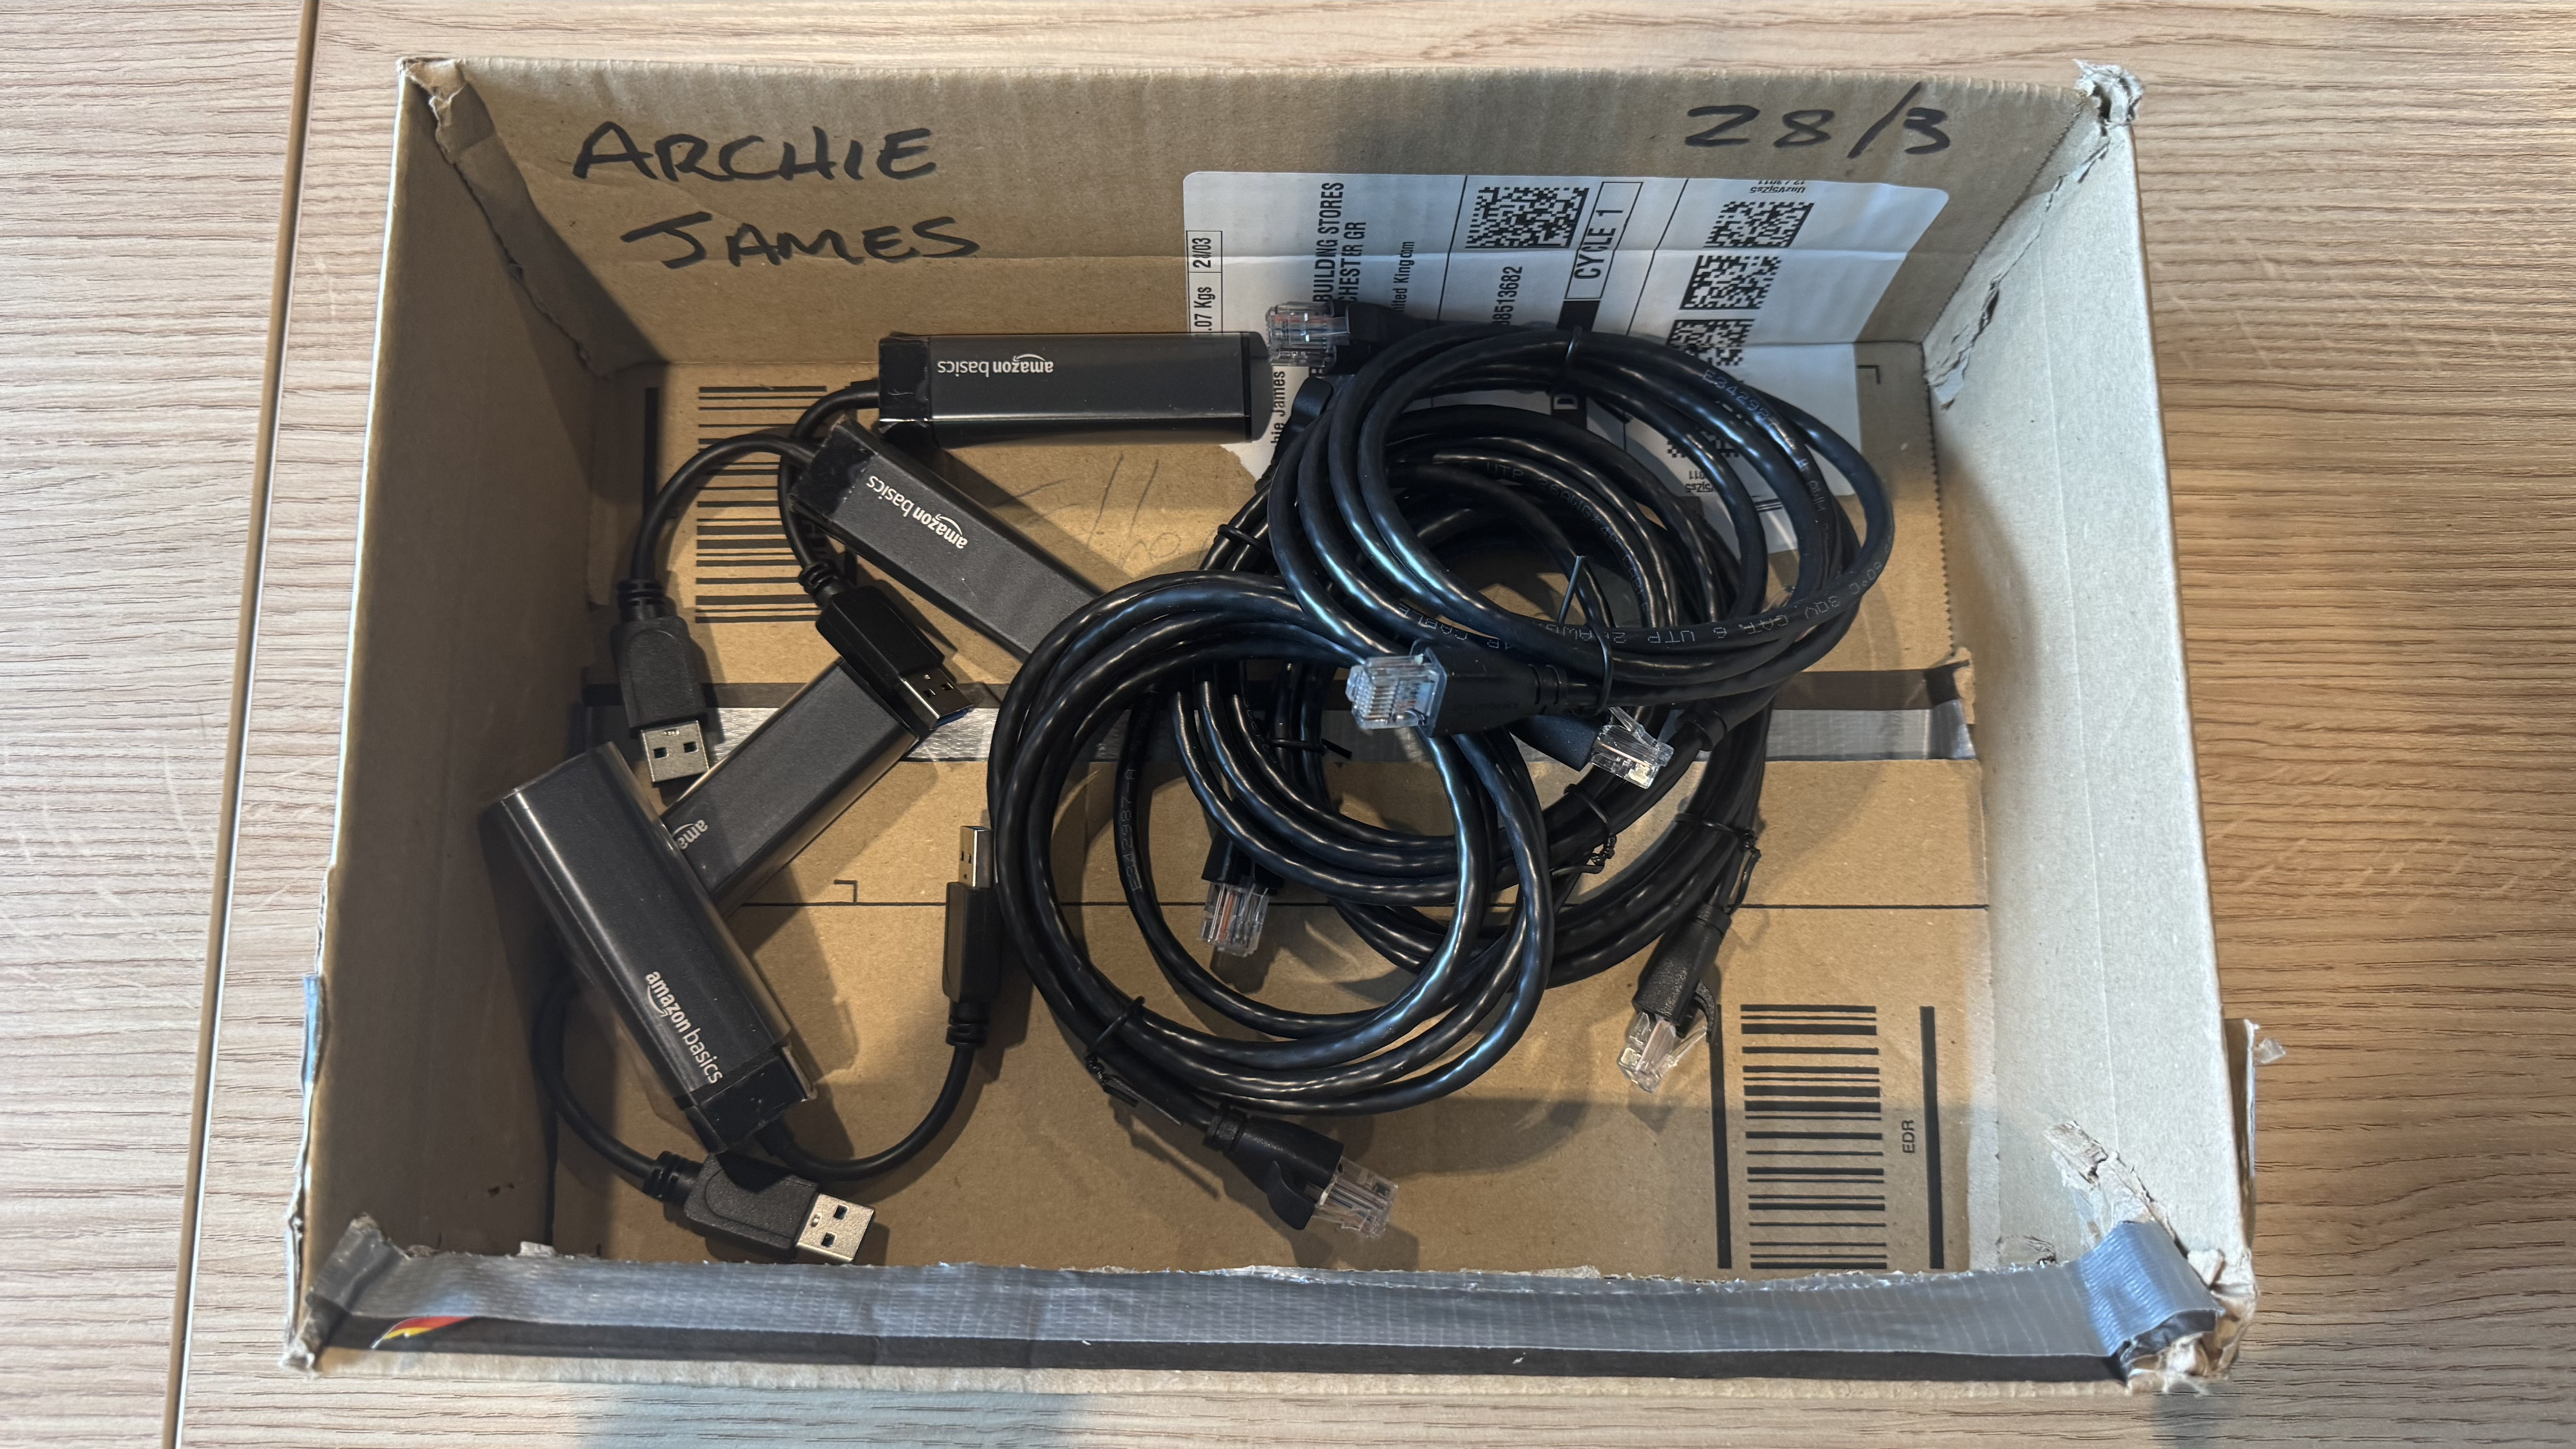
Ethernet cables and adaptors (Limited supply)
- Additional Peripherals: We also provide a couple of HDMI cables. These are available on a first-come, first-serve basis.
3. Makerspace Desktop Computers
- Method: As a last resort, you may use the display, keyboards, and mice from the desktop computers in the Makerspace.
- Note: This method is not recommended due to limited availability and the risk of disrupting the setup. If you do use these peripherals, please return everything exactly as you found it.
Remote Connection Video Guides
For a better understanding of remote connection methods to your Raspberry Pi once you’ve setup, please check out these video guides:
- Eduroam WiFi Setup Video (Untested)
- General Remote Connection Explainer
Developer Resources
-
Application Module Library
A development library for creating applications with the AI Camera.
https://shorturl.at/cHYMs -
GUI Tool
A graphical interface to explore the capabilities of various AI models.
https://shorturl.at/Agn4Z -
Sample Apps
A collection of example applications to get you started.
https://shorturl.at/cTOXl -
Training Tutorials for IMX500
Tutorials on retraining models for specific tasks with the camera.
https://shorturl.at/6QxsK
Extra Links and Guides
-
Get Started Guide
https://developer.aitrios.sony-semicon.com/en/raspberrypi-ai-camera/develop/get-started
A quick start guide to setting up and using the AI Camera. -
AI Tutorials
https://developer.aitrios.sony-semicon.com/en/raspberrypi-ai-camera/develop/ai-tutorials
Step-by-step tutorials on various AI models and applications. -
Use Cases
https://developer.aitrios.sony-semicon.com/en/raspberrypi-ai-camera/develop/use-cases
Visual examples of different use cases for the AI Camera. -
AI Models
https://developer.aitrios.sony-semicon.com/en/raspberrypi-ai-camera/develop/ai-models
Overview of the AI models available for your projects. - Object Dectection Example
Watch this video to see how to get started with your Raspberry Pi AI Camera.
- Official Raspberry Pi AI Camera News
https://www.raspberrypi.com/news/how-to-get-started-with-your-raspberry-pi-ai-camera/
Learn more about setting up and using your camera from Raspberry Pi’s own guides.
Judging Criteria
The preliminary judging criteria is below, more details will be provided later.
- Effectiveness
- Creativity
- Use of the camera
Extra Credit
You’ll earn bonus points for creative use of the AI camera in combination with any of our specialized components from the hackathon inventory. Think beyond just image capture; integrate sensors, mechanical elements, or additional microcontrollers to create a truly innovative solution.
Use Case Sharing
Instead of distributing a traditional feedback form, we’re building the sharing requirement directly into the challenge. Each team must post their use case on a designated platform (we’re considering the official Raspberry Pi Forum but are open to suggestions) to showcase what you’ve built to the broader community.
To encourage active promotion, we’re introducing a “Community Winners” category. One month after the hackathon ends, we’ll check which projects get the highest visibility (e.g., most views or shares). The top two teams will each receive an additional prize.
This approach helps us amplify your creative work, fosters knowledge-sharing, and underscores our priority: getting your projects seen and discussed by a wider audience. So, once you’ve finished building, spread the word—and good luck!