3D Printing
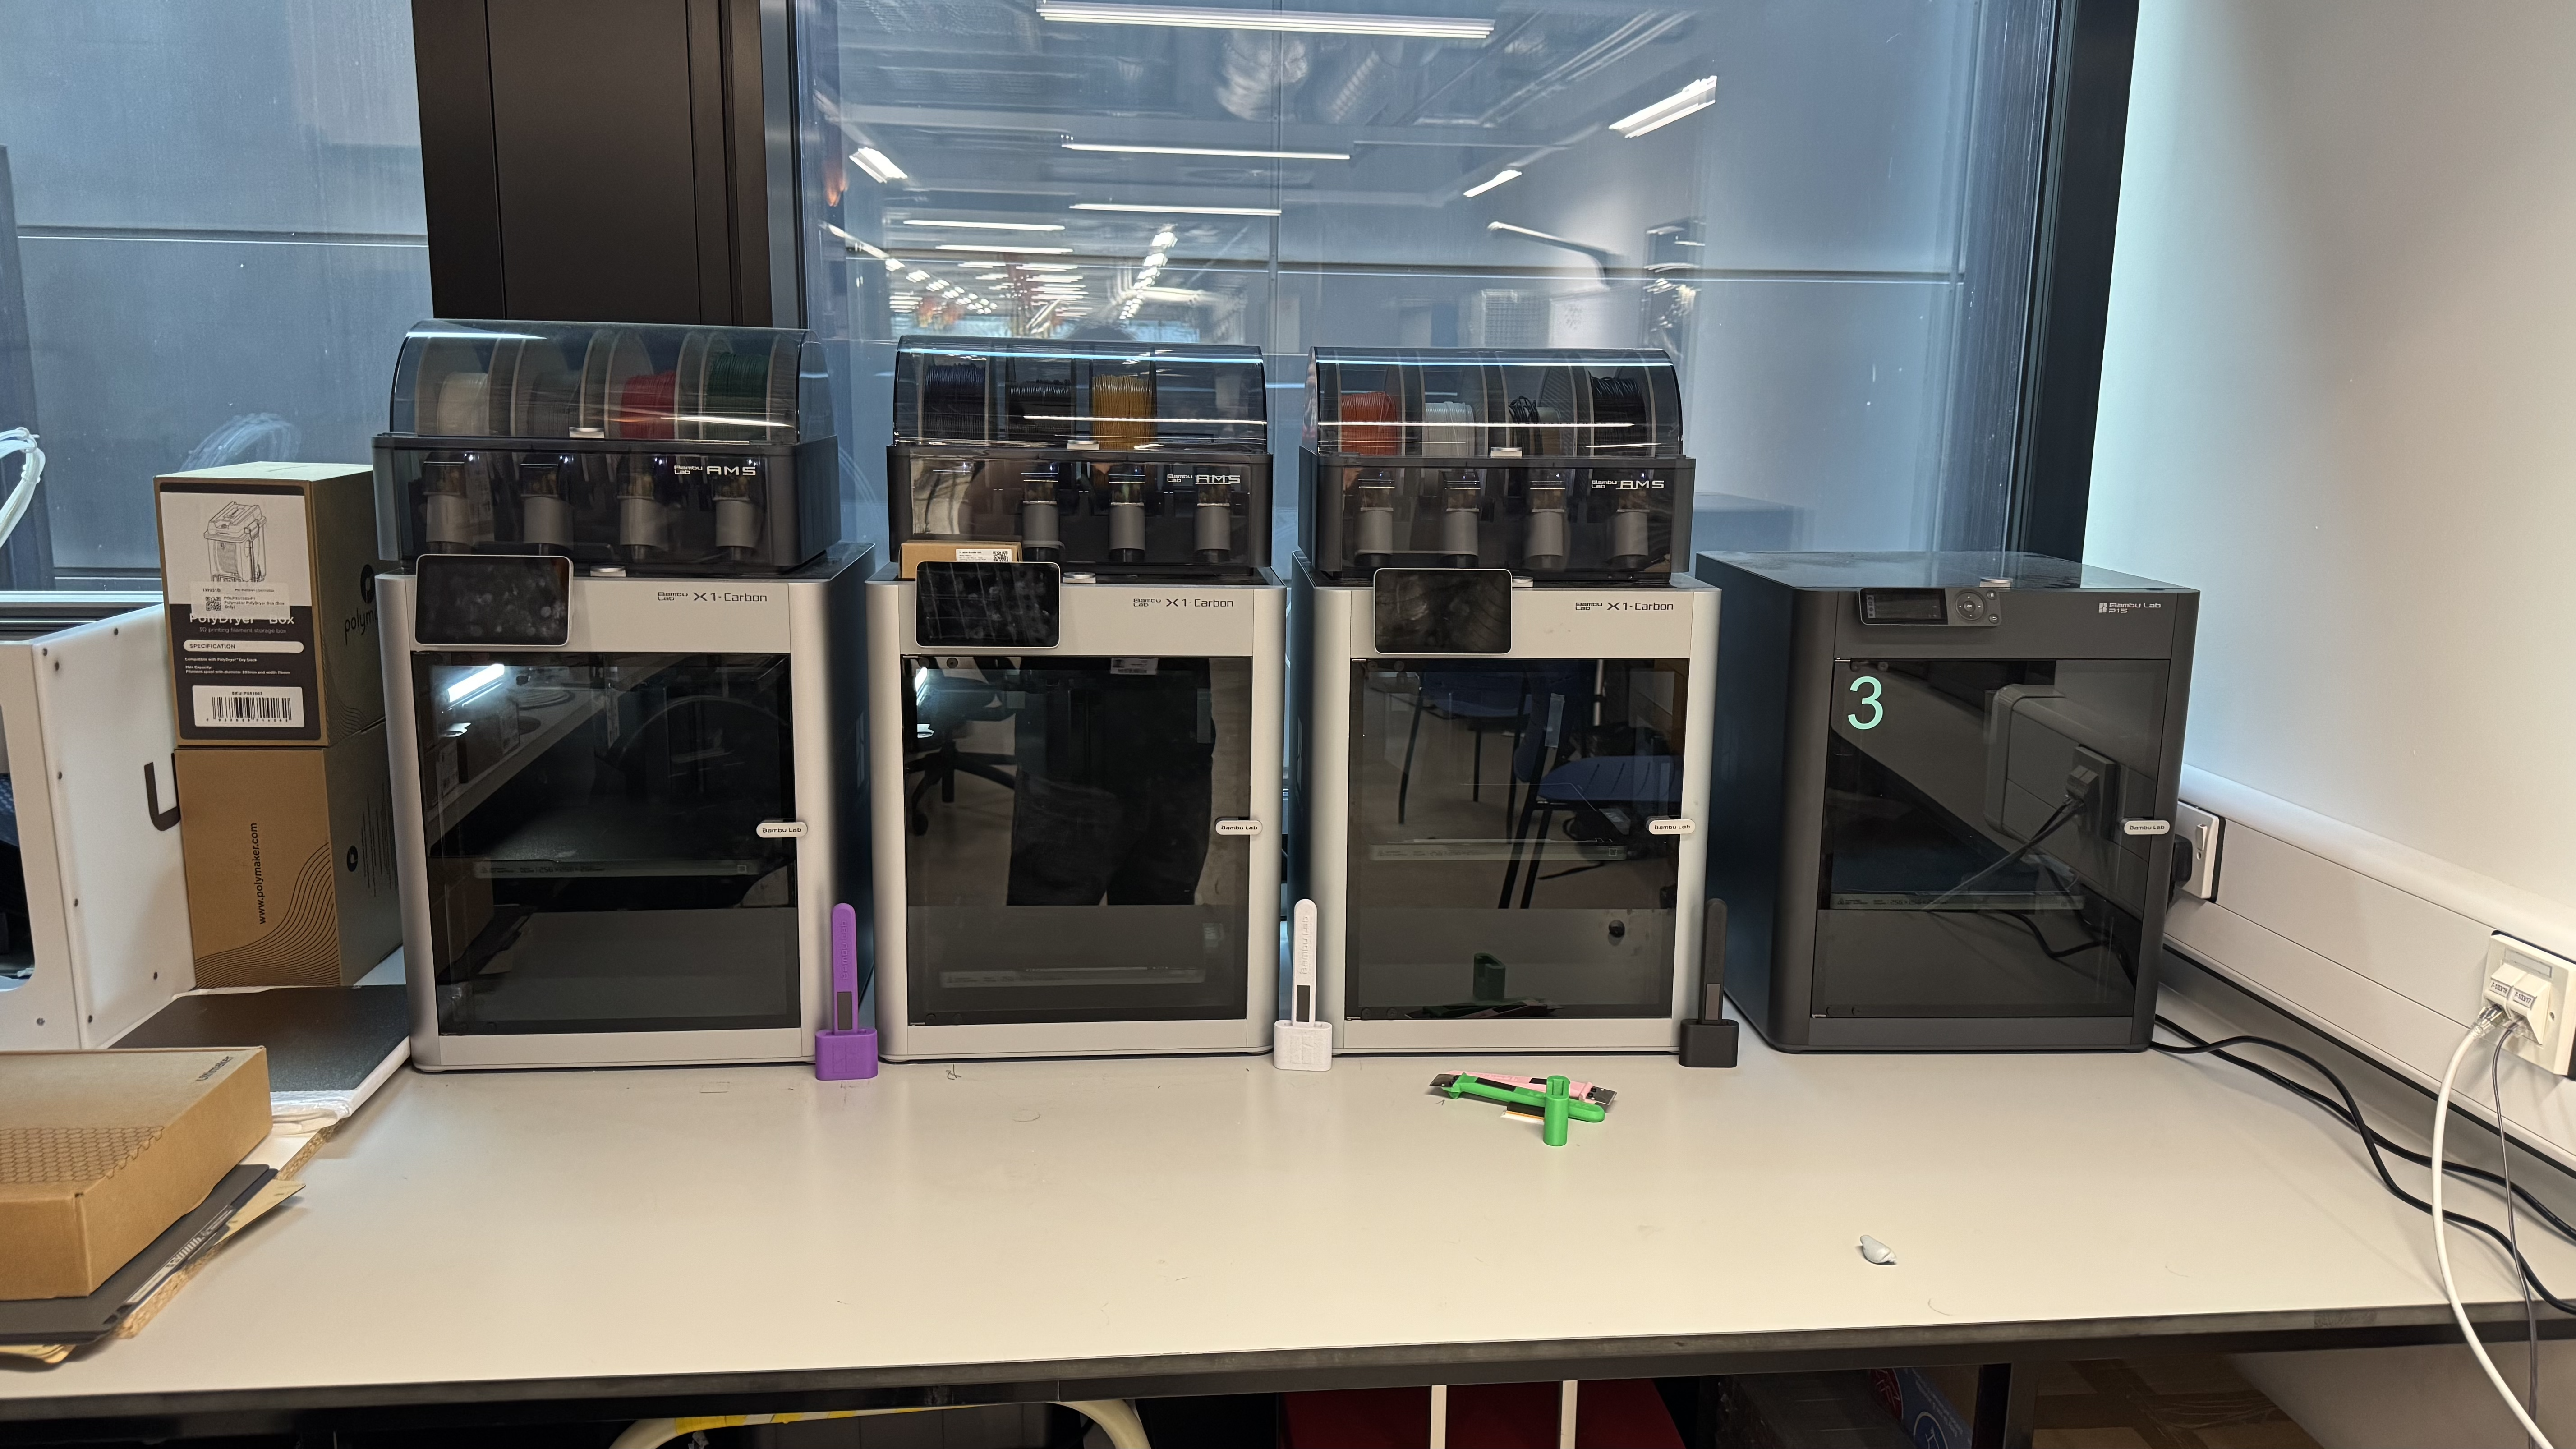
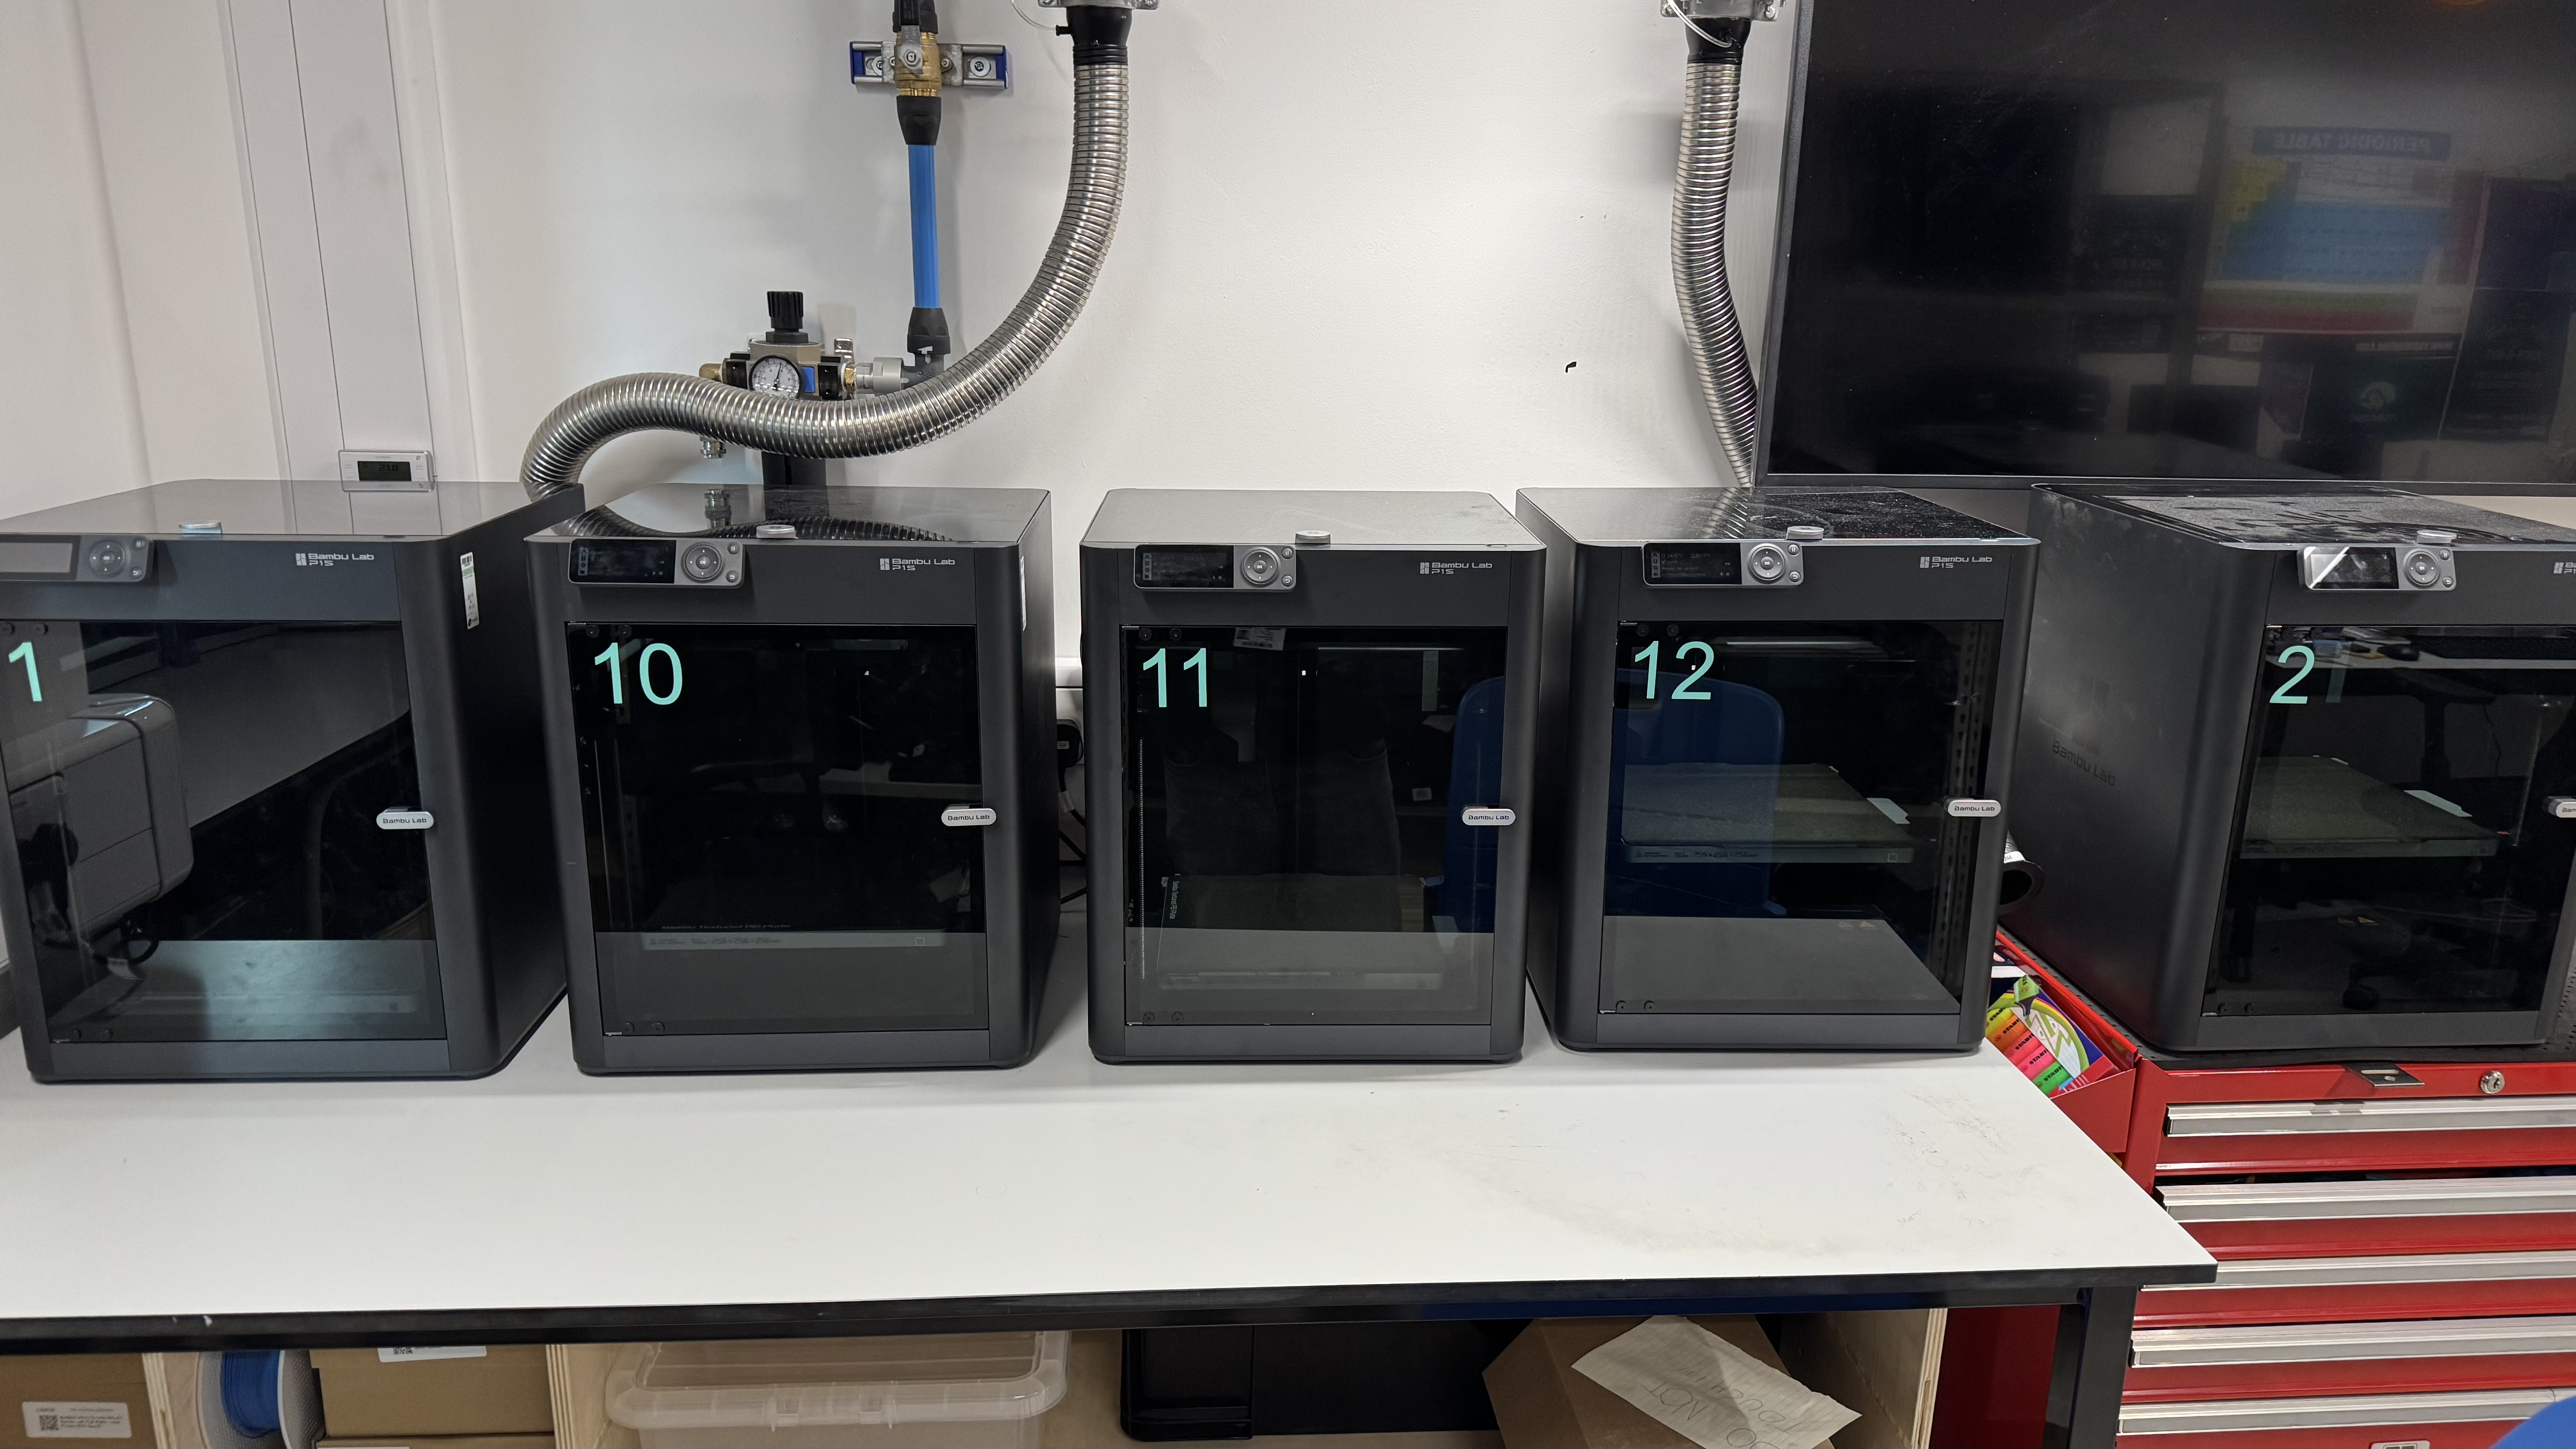
We have access to roughly 10 3D printers throughout the event!. Bambu Lab printers have pretty much become the industry standard for quick prototyping in recent years due to their insane reliability, print quality and speed. We are lucky to have so many. Thanks to the Makerspace and the Ground Floor Lab for providing us with such high quality printers.
Getting Started with CAD & 3D Printing
If you’re new to 3D printing or want a refresher on how to prepare your models, we’ve put together a CAD & 3D Printing guide covering everything from model design to slicing and exporting in the right formats.
3D Printing Guidelines
We’re using the Bambu Lab P1S printers, which offer excellent print quality and speed. Here are some key points to consider when preparing your designs:
-
Print Bed & Build Volume:
The Bambu Lab P1S features a build volume of approximately 256 x 256 x 256 mm. For most component parts, we recommend keeping designs within 200 x 200 mm to optimize print times and ensure quality. - Estimated Print Times:
- Small Parts (under 100 mm): Approximately 30 minutes to 1 hour.
- Medium Parts (up to 200 mm): Around 1 to 2 hours.
- Large Parts (approaching build volume limits): May take 3–4 hours or more.
- Design Philosophy:
While 3D printing is a great way to create custom parts, keep your designs functional and simple.- Use 3D printing for components that require customization or rapid iteration.
- For your robot’s main chassis, consider building around materials we provide (such as MDF or acrylic) or even repurposing everyday items (for example, fun boxes or packaging from a supermarket) to keep costs and print times down.
- Material Choices:
Choose filament types that offer a good balance between strength and weight. Remember that print settings and material quality can affect durability, so test your parts before final integration.
Following these guidelines will help ensure that your parts are printed quickly, efficiently, and with the functionality needed for your design.
Uploading Your Files
All files for 3D printing must be uploaded to our public Google Drive folder in a slicable format: .3mf, .stl, or .step.
File naming format:
studentid_groupname_printnumber
Example:
11374538_aicamera3_01.3mf
11374477_rover5_02.stl
This naming system helps us keep track of multiple uploads, particularly overnight or across teams.
Submitting Your Print in Person
Once you’ve uploaded your file:
- Head to the 3D printing area of the Makerspace (far end, to the right of the inventory area).
- Tell a technician your student ID and any relevant details about your print.
- They’ll take it from there!
Print times vary, and technicians will have the right to refuse any prints and let you know if there are any issues.